
How To Assemble Your Custom PC: Techiezoid’s Reliable Guide Leave a comment
Building a custom PC can seem like a daunting task, especially for beginners. However, with the right guidance and a bit of patience, anyone can assemble their computer from scratch. In this comprehensive guide brought to you by Techiezoid, we’ll walk you through the step-by-step process of how to assemble your custom PC, from selecting components to powering it up for the first time.

Step 1 :
Planning Your Build Before you start assembling your custom PC, it’s crucial to plan your build carefully. Consider your budget, intended use (gaming, content creation, etc.), and future upgradeability. Research compatible components and create a parts list that meets your needs and preferences.
Step 2 :
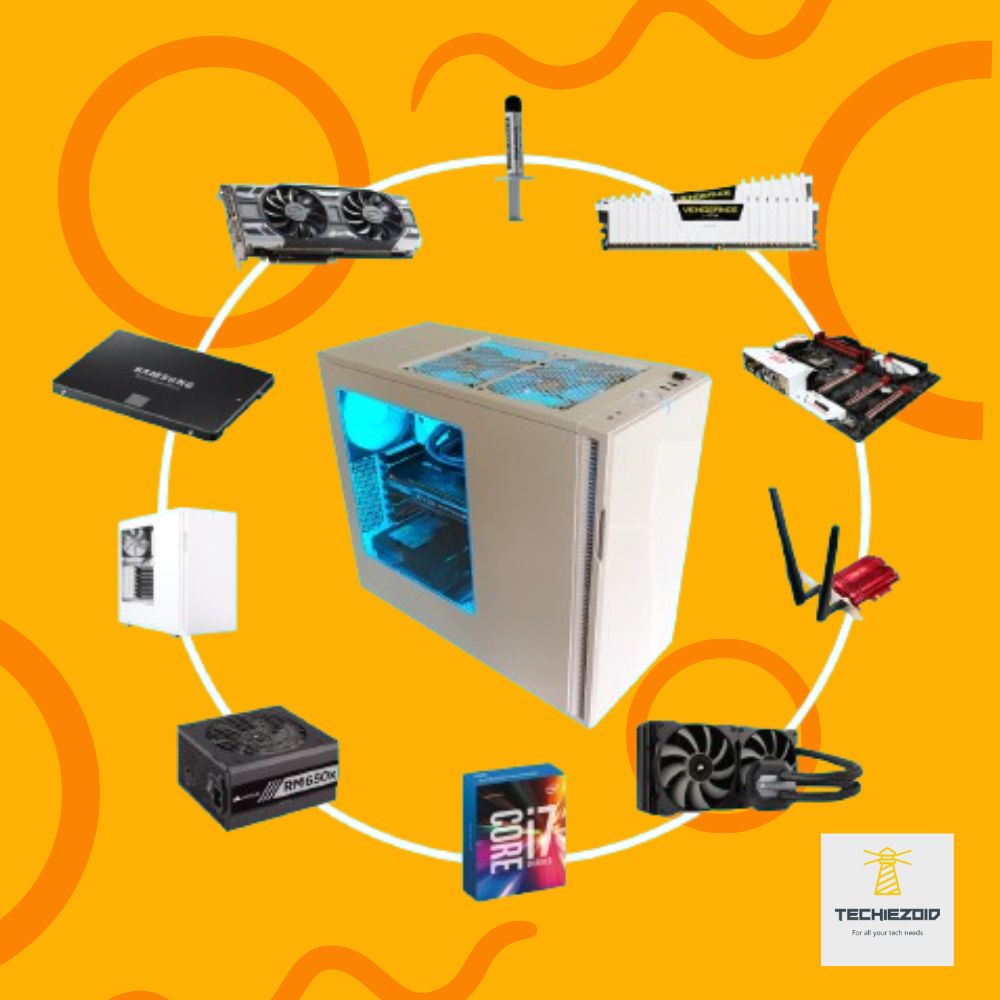
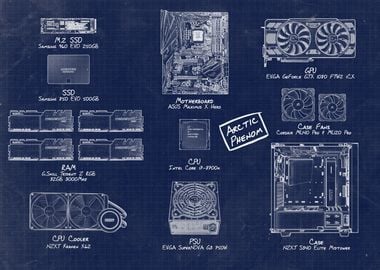
Gather Your Components Once you’ve finalized your parts list, gather all the necessary components. This typically includes a CPU, GPU, motherboard, RAM, storage (SSD or HDD), power supply unit (PSU), case, cooling solution (air or liquid), and peripherals (keyboard, mouse, monitor).
Step 3 :
Prepare Your Workspace Find a clean, well-lit workspace with plenty of room to work. Lay down an anti-static mat or use an anti-static wrist strap to prevent damage to sensitive components from static electricity.
Step 4 :
Install the CPU and Cooler Begin by installing the CPU onto the motherboard according to the manufacturer’s instructions. Apply thermal paste if necessary and attach the CPU cooler securely, ensuring proper cooling.
Step 5 :
Install RAM and Storage Insert the RAM modules into the designated slots on the motherboard, applying gentle pressure until they click into place. Next, install your storage drives into the appropriate drive bays or M.2 slots on the motherboard.
Step 6 :
Mount the motherboard in the Case Carefully place the motherboard into the case, aligning it with the pre-installed standoffs. Secure the motherboard in place using screws provided with the case, ensuring it is firmly seated.
Step 7 :
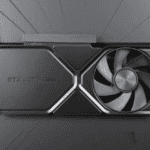
Install the GPU Slot and the graphics card into the PCI Express slot on the motherboard, ensuring it clicks into place. Secure the GPU to the case using screws and connect any necessary power cables from the PSU.
Step 8 :
Connect Power Supply and Cables Mount the power supply unit in the designated area of the case and connect power cables to the motherboard, CPU, GPU, storage drives, and other peripherals as required.
Step 9 :
Cable Management Organize and route cables neatly to improve airflow and aesthetics. Use cable ties or Velcro straps to secure cables and prevent clutter.
Step 10 :
Final Checks and Boot-Up Double-check all connections and components to ensure everything is securely installed. Close the case panel and connect peripherals. Power up your custom PC and enter the BIOS to confirm that all components are recognized and functioning correctly.
Congratulations! You’ve successfully assembled your custom PC. Building your computer can be a rewarding experience that results in a powerful machine tailored to your needs. With this guide from Techiezoid, you can confidently tackle the process of building your custom PC and unleash its full potential for gaming, productivity, or whatever else you have in mind.
If building your own PC seems to be too much of a hassle for you, Techiezoid got you covered there too with Pre Built PCS and we offer to Build custom PCs on order as well made tailored to your liking. and if you find this step by step guide helpful please leave a review about your experience here.
Feel free to visit us or contact us
- Contact Info 125 Ibn-e-Saeed Road, Canal Rd, near Cake & Bakes, Canal Bank Housing Scheme, Lahore
- Call at: 0317-4407358
Table of Contents
- The Ultimate Nvidia GeForce RTX 4070 Super: A Game-Changer in Graphics Technology
- PlayStation Plus Free Game July 2024 Line-up Partially Leaks Online

- Techiezoid’s Exclusive Scoop: Dragon Ball Sparking Zero Unveiled! Your Complete Guide to the Ultimate Gaming Experience!

- PlayStation 4 Pro VS Xbox One X

- How To Assemble Your Custom PC: Techiezoid’s Reliable Guide